Profiles
Note: Only users with an Administrator role can create, edit, and delete profiles.
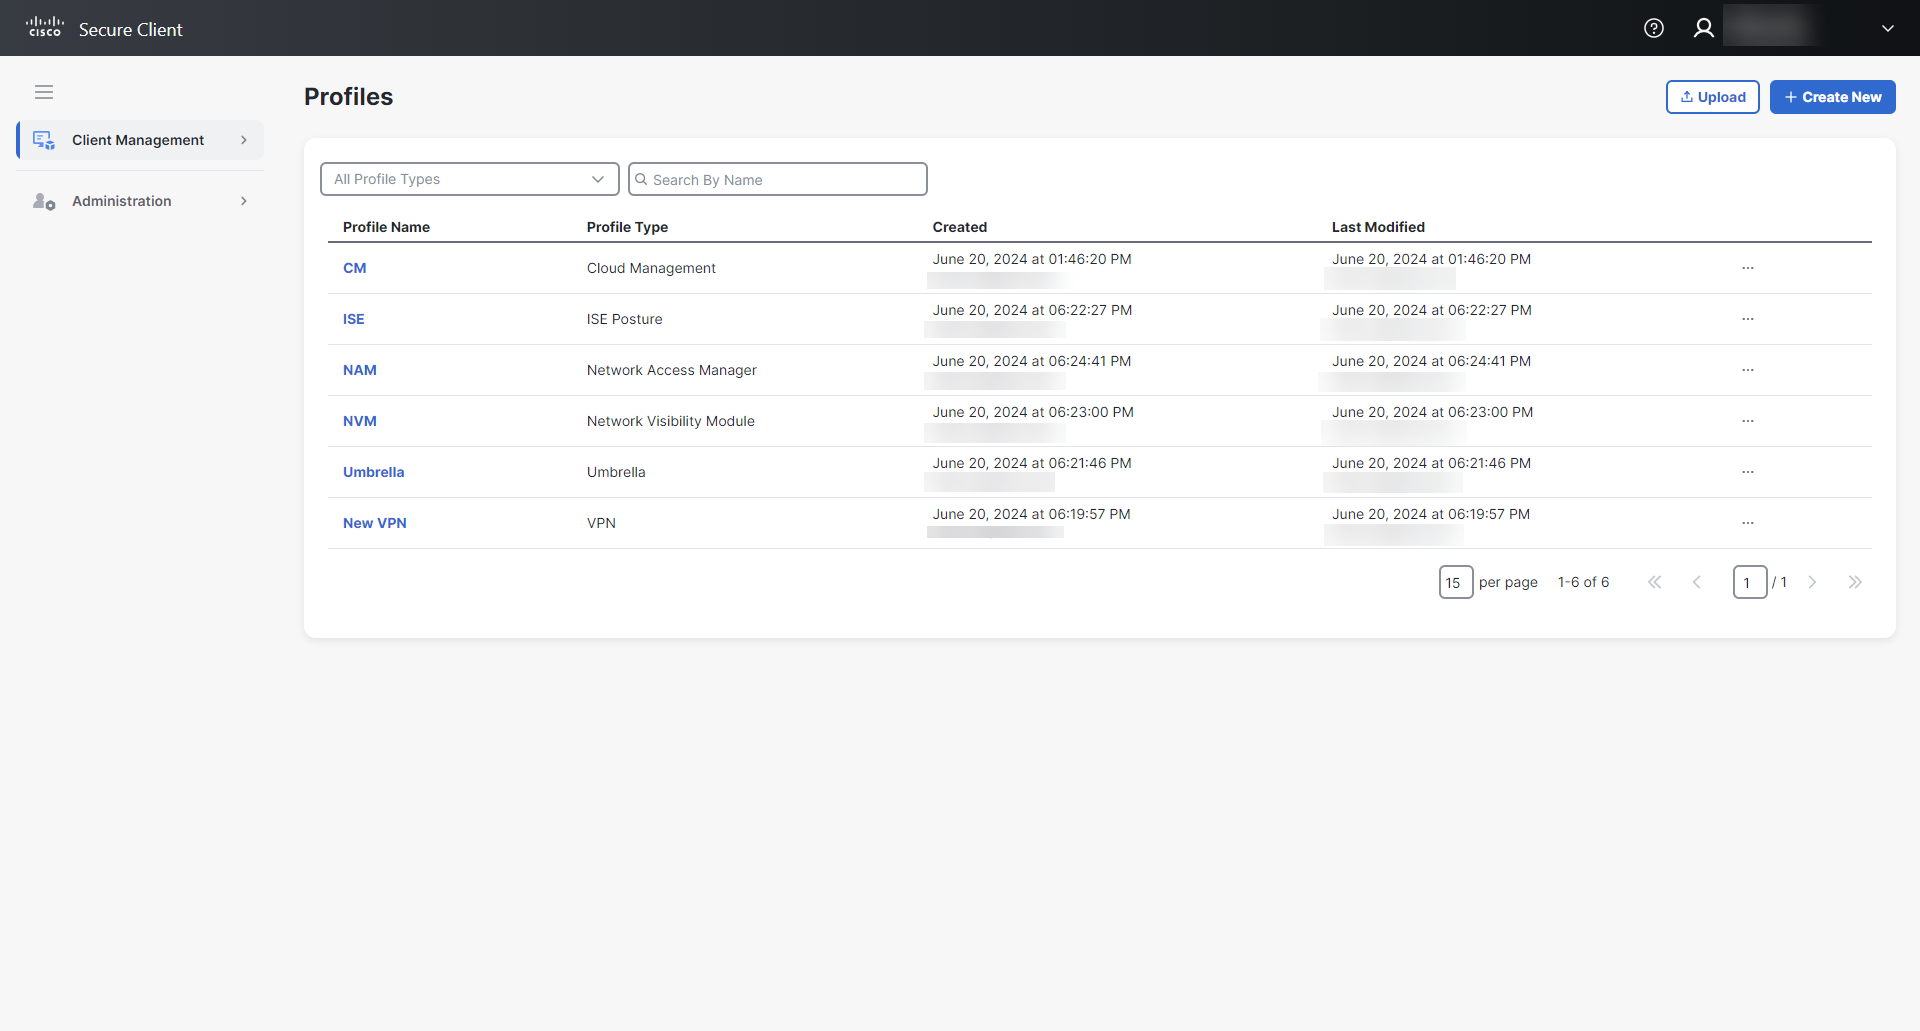
The Profiles page provides a list of all the Secure Client profiles in your Secure Client Cloud Management organization and allows you to create profiles that control the Secure Client endpoint software.
Choose Client Management > Profiles in the navigation menu to open the Profiles page.
The table provides the following information:
|
Column Name |
Description |
|---|---|
|
Profile Name |
The name of the profile. Click the name to go to the Profile Configuration page and view additional information. |
|
Profile Type |
The type of profile. |
|
Created |
The date and time the profile was created, and the user that created the profile. Note: User data might not be available for profiles created before the general availability release of Cisco Secure Client Cloud Management. |
|
Last Modified |
The date and time the profile was last modified, and the user that modified the profile. |
From the Profiles page, you can perform the following tasks:
You can search and sort the profiles to narrow the display.
-
Profile Type - Click the drop-down menu to filter on a profile type.
-
Search By Name - Enter the name of the deployment to find specific deployments.
-
Sort - You can sort the table alphabetically or by date and time. Click the
(Sort) icon next to the column headers to sort the table:
-
Profile Name and Profile Type - Sort in alphabetical ascending or descending order.
-
Created and Last Modified - Sort by oldest or most recent date and time.
-
To create a new profile:
-
Click Create New in the top right corner of the page.
-
Select the profile type.
-
Click Create.
The Profile Configuration page opens. -
Fill out the form.
For more information about different profile configuration settings, see the Profile Configuration help topic. -
Click Save.
A success message is displayed in the lower right corner of the screen.
To upload an existing profile:
-
Click Upload in the top right corner of the page.
-
Select the profile type, and then click Next.
-
Attach the profile you want to upload, and then click Next.
-
Enter a name for the profile.
-
Click Upload.
A success message is displayed in the lower right corner of the screen, and the Profiles page refreshes with the profile added.
To download a profile configuration file:
-
Click the
 (Ellipsis) icon to open the Options menu.
 -
Choose Download. The .json or .xml file will begin downloading.
Note: You can also download a profile from the Profile Configuration page. Click the Profile Name to open the Profile Configuration page and then click Download.
To make a copy of a profile:
-
Click the
 (Ellipsis) icon to open the Options menu.
 -
Choose Make A Copy.
The Profile Configuration page opens.Note: You can also copy a profile from the Profile Configuration page. Click the Profile Name to open the Profile Configuration page and then click Make A Copy.
-
Modify the profile configuration settings, if needed. For more information about different profile configuration settings, see the Profile Configuration help topic.
-
Click Save.
To edit a profile:
-
Click the
 (Ellipsis) icon to open the Options menu.
 -
Choose Edit Profile to open the Profile Configuration page. From this page, you can edit the profile settings, make a copy of the profile in Secure Client Cloud Management, and download the profile configuration file. For more information about different profile configuration settings, see the Profile Configuration help topic.
Note: You can also click the Profile Name to open the Profile Configuration page.
-
Click Save to save any changes to the profile configuration.
To edit a profile name:
-
Click the
 (Ellipsis) icon to open the Options menu.
 -
Choose Edit Name.
-
Edit the profile name.
-
Click Save.
Note: Deleting profiles is permanent and cannot be undone.
To delete a profile from the Profiles page:
-
Click the
 (Ellipsis) icon to open the Options menu.
 -
Choose Delete.
Note: You can also delete a profile from the Profile Configuration page. Click the Profile Name to open the Profile Configuration page and then click the
 (Delete) icon.
 -
Click Delete to confirm.
A success message is displayed in the lower right corner of the screen, and the Profiles page refreshes with the profile removed.
