My Account
Choose Administration or My Account in the navigation menu to view your Secure Client Cloud Management account information and format the date and time used throughout the Secure Client Cloud Management UI.
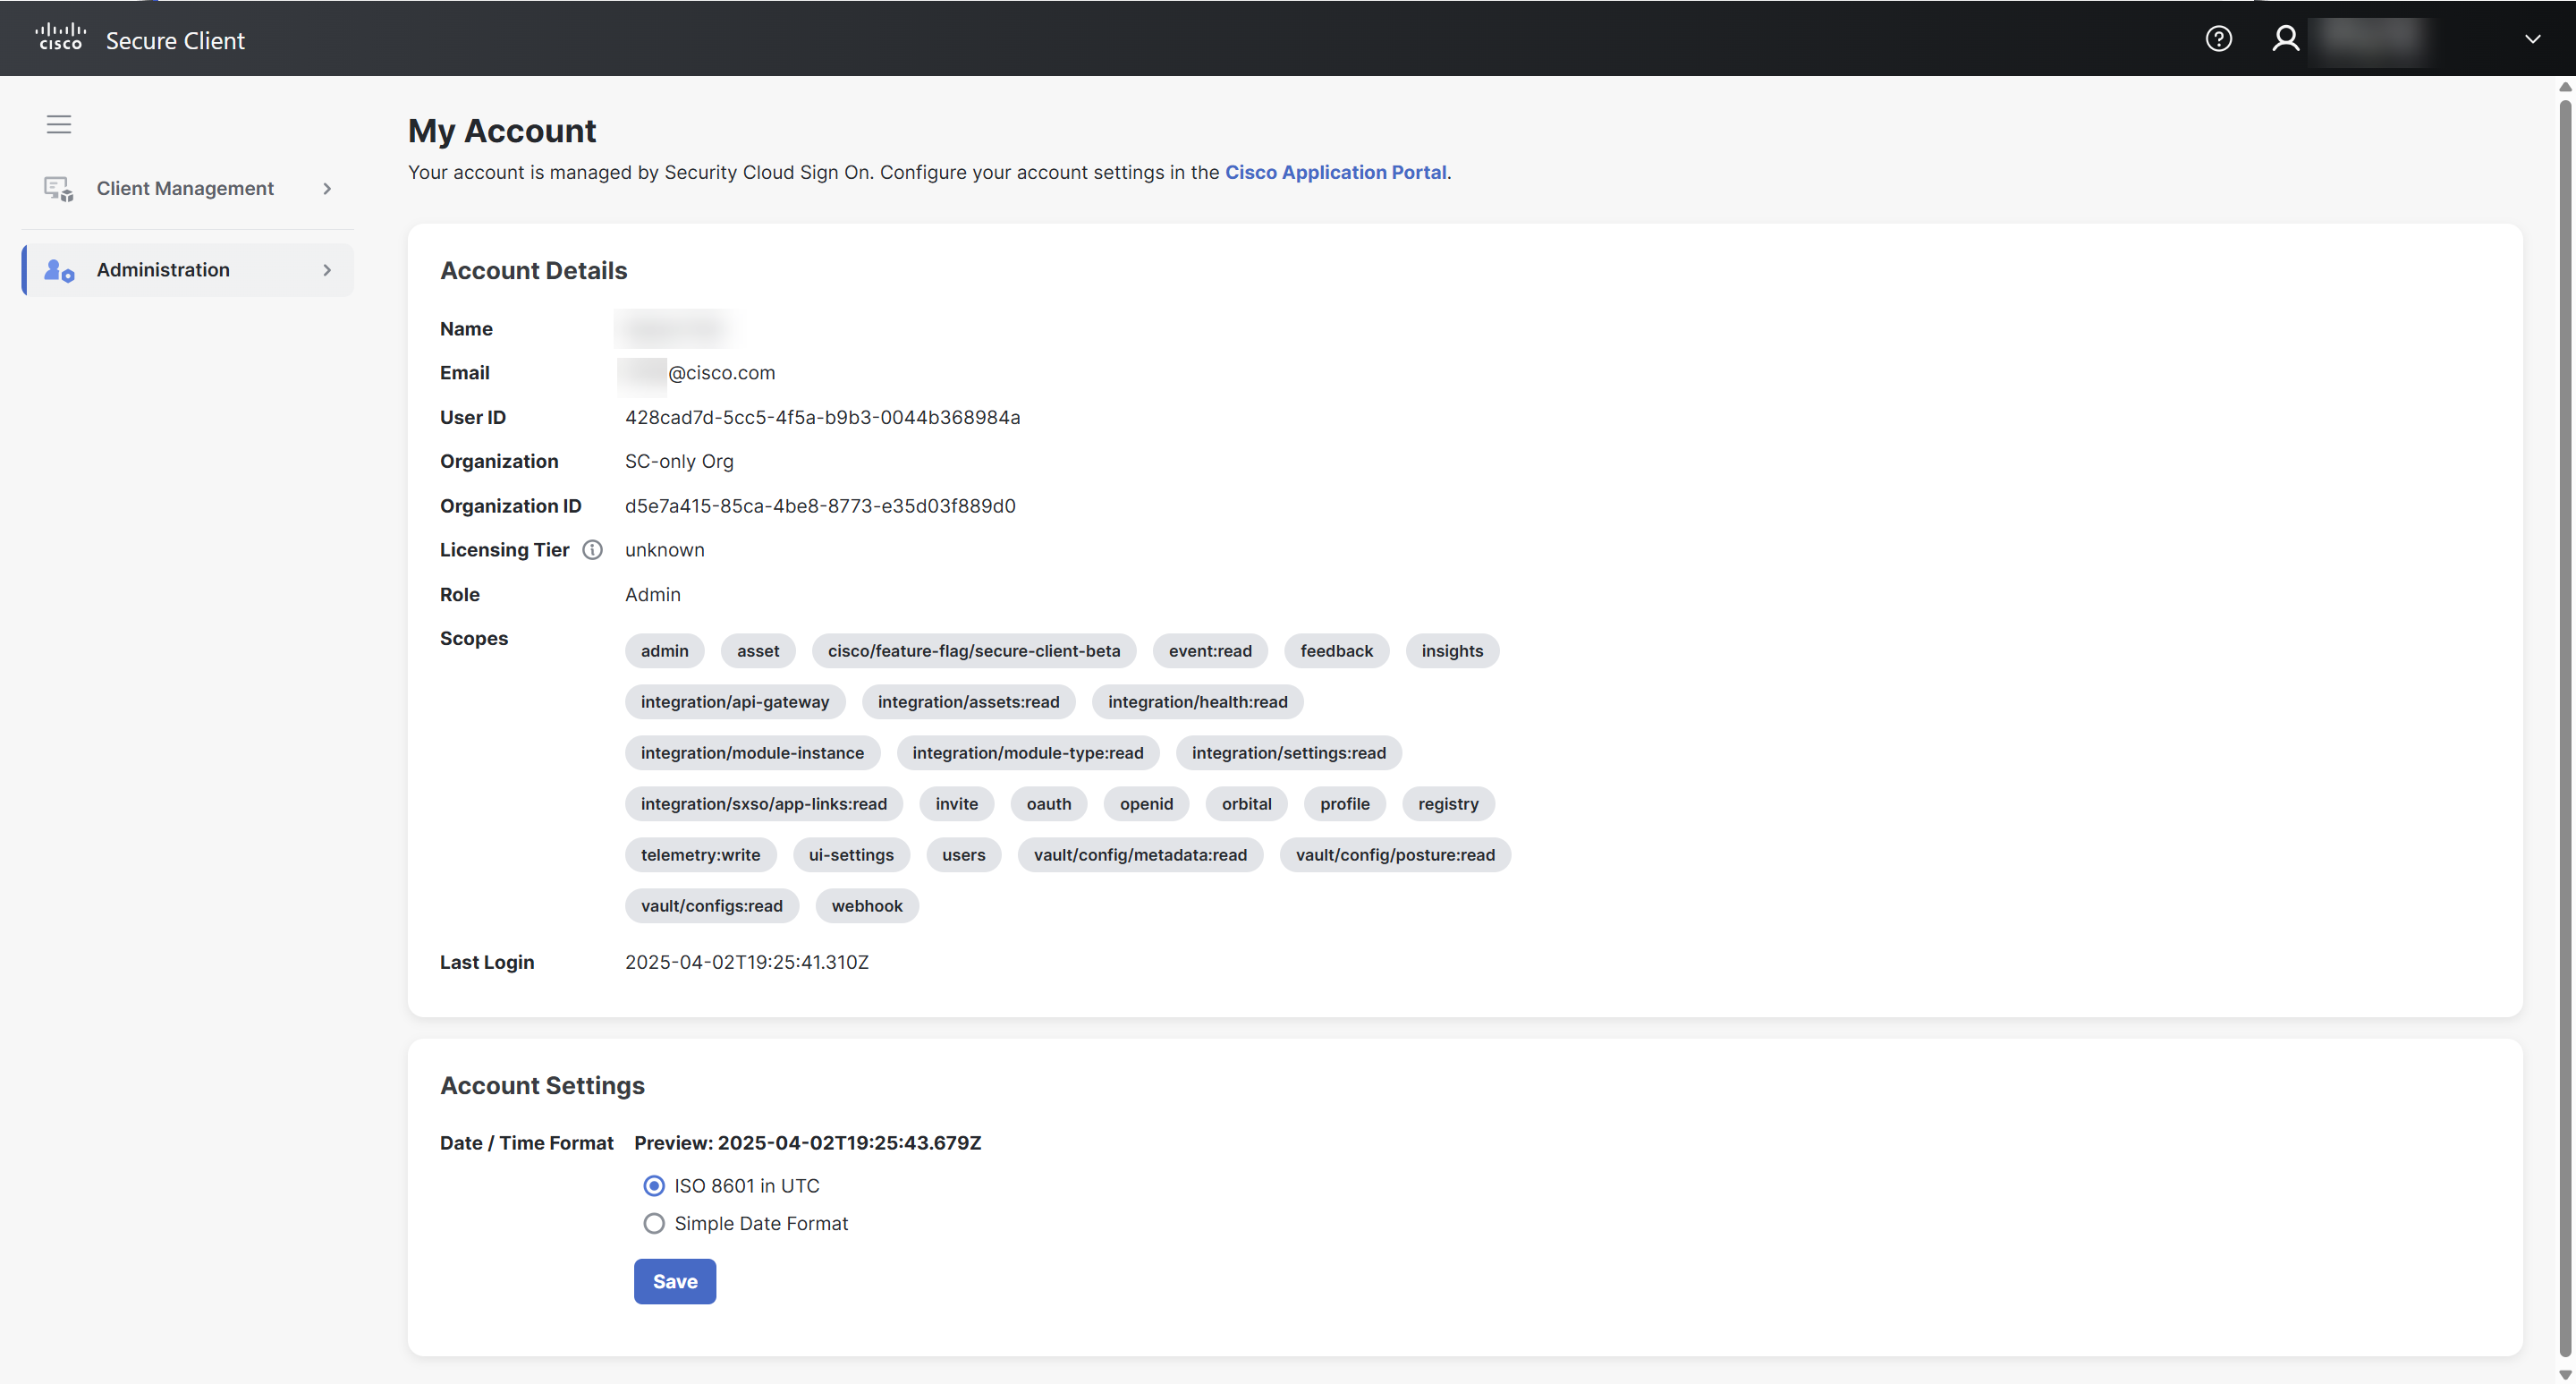
Your account information in the Account Details area is maintained by your Identity Provider (IdP). The details include your name, email address, user ID, organization, organization ID, role, the scopes assigned to your account, and the last date and time you were logged in to Secure Client Cloud Management.
The Account Settings area allows you to specify the date format and time zone to be used throughout Secure Client Cloud Management wherever the date and time is displayed in Date / Time Format. Click the radio button for the format to be used and click Save to save your selection. Your selection is displayed in the Preview field.
-
ISO 8601 in UTC - Click this option to display the date format and time zone in accordance with ISO 8601 standards, which is based on the 24-hour timekeeping system with Coordinated Universal time (UTC) offset.
For example: 2020-06-10T20:30:12.039Z
-
Simple Date Format - Click this option to enter a specific simple date format and choose your time zone.
For example, to display the date and time as Jun 10, 2020 @ 3:30 PM CDT:
Enter MMM D, YYYY @h:mm A z in the field and choose a CDT time zone from the drop-down list.
Cisco XDR Activation
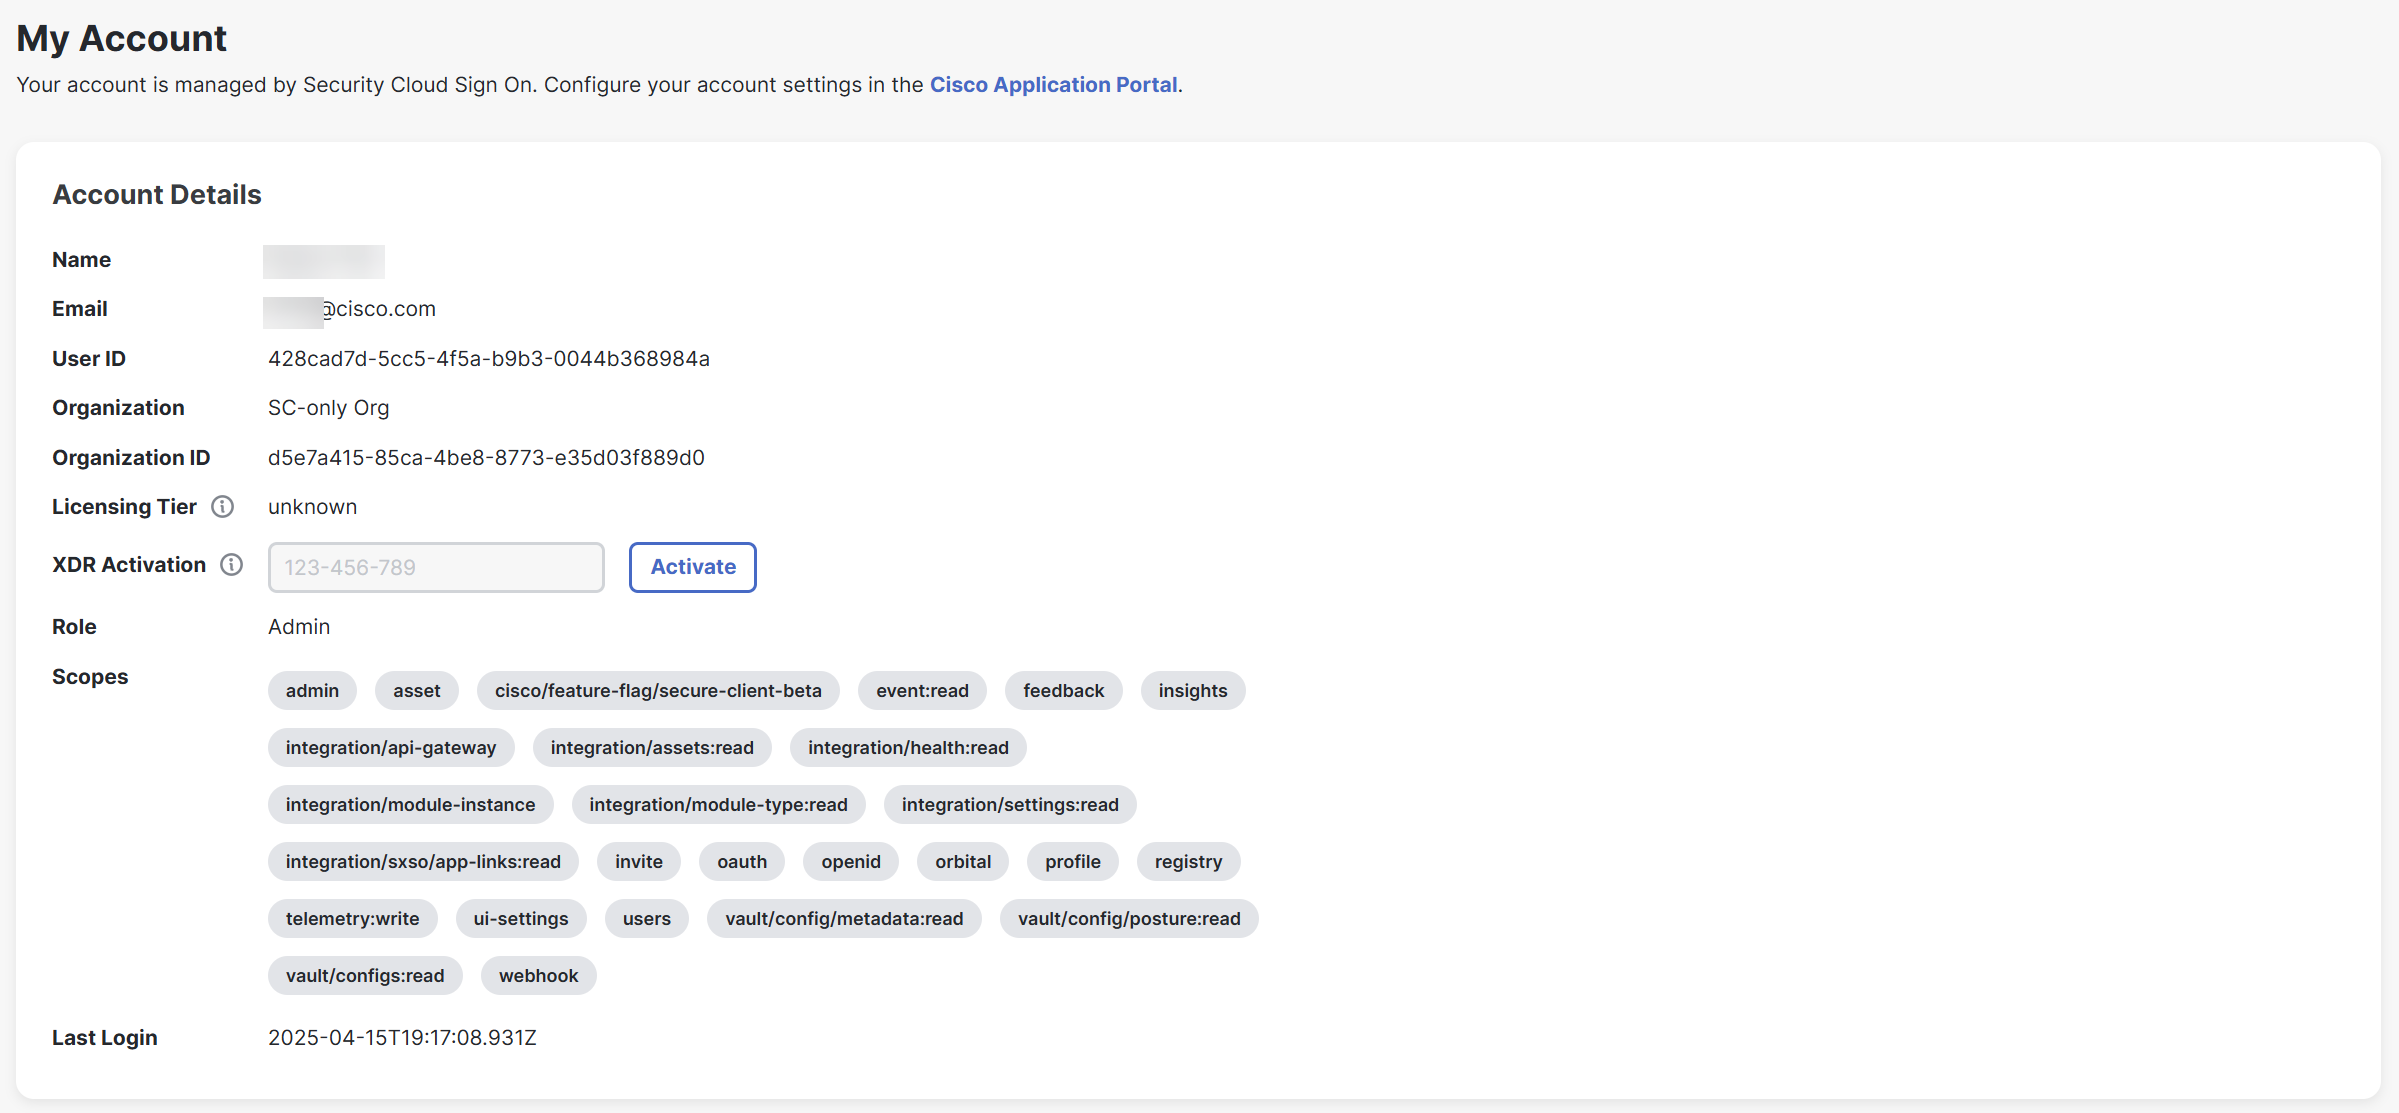
The XDR Activation field allows you to upgrade your Secure Client Cloud Management instance to Cisco XDR. The field is only available for the Admin user that initiated the tenant attachment process in Cisco Security Cloud Control and is using the link provided in their activation email.
-
Click the link provided in the activation email, and then log in to your Secure Client Cloud Management instance. The Administration > My Account page will open with your unique activation code.
-
In the XDR Activation field, click Activate.
-
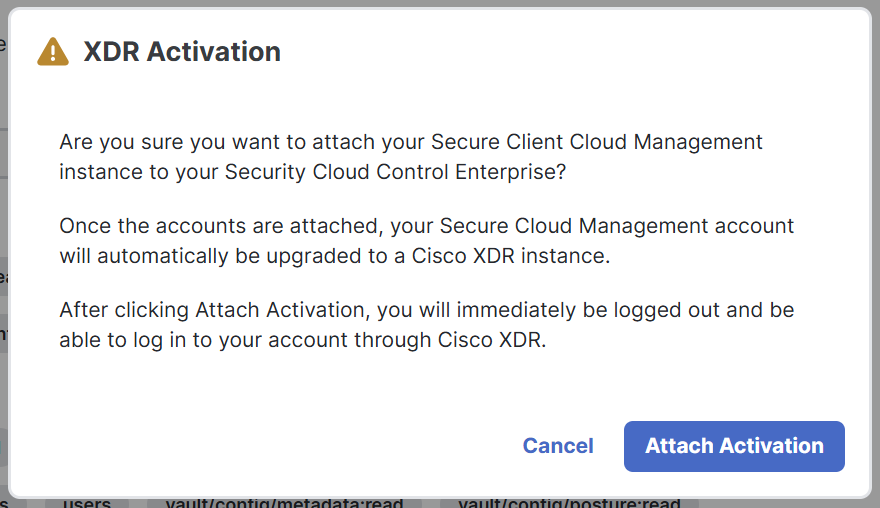
Click Attach Activation to attach this Secure Client Cloud Management instance to your Cisco Security Cloud Control Enterprise and enable you to apply a Cisco XDR license to this instance.